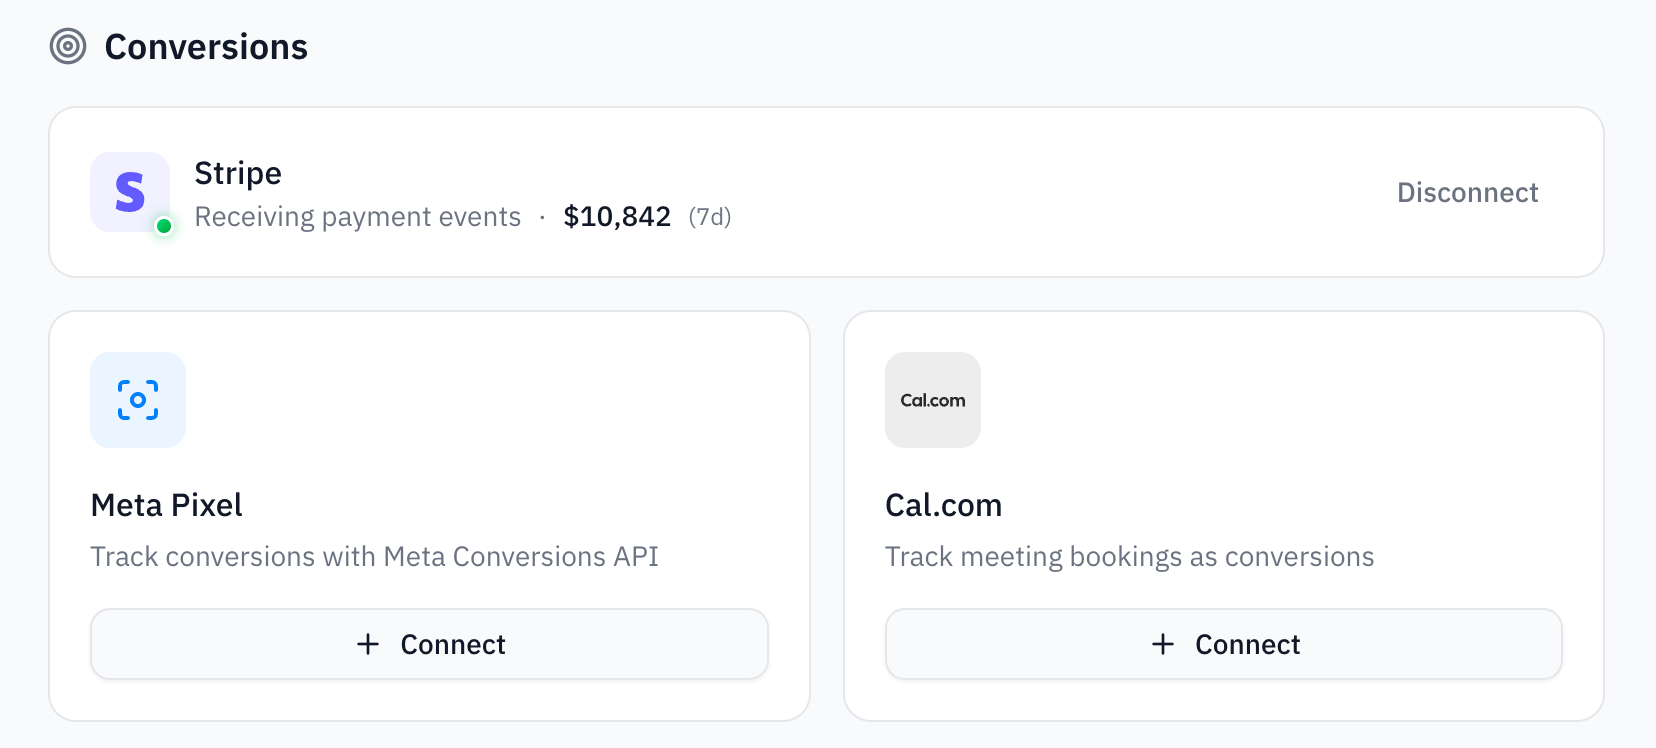
Stripe (Payment Conversions)
Connect your Stripe account to automatically track payments as conversions. This enables you to see which ads and marketing channels are driving actual revenue.What Gets Tracked
Once connected, Loops automatically captures these Stripe events:- checkout_completed - Checkout session completions
- payment_completed - Successful payments
- subscription_created - New subscriptions
- subscription_updated - Plan upgrades and renewals
- invoice_paid - Paid invoices
- charge_succeeded - Successful charges
Step 1: Connect Your Stripe Account
Use the OAuth flow on the Integrations page in the dashboard.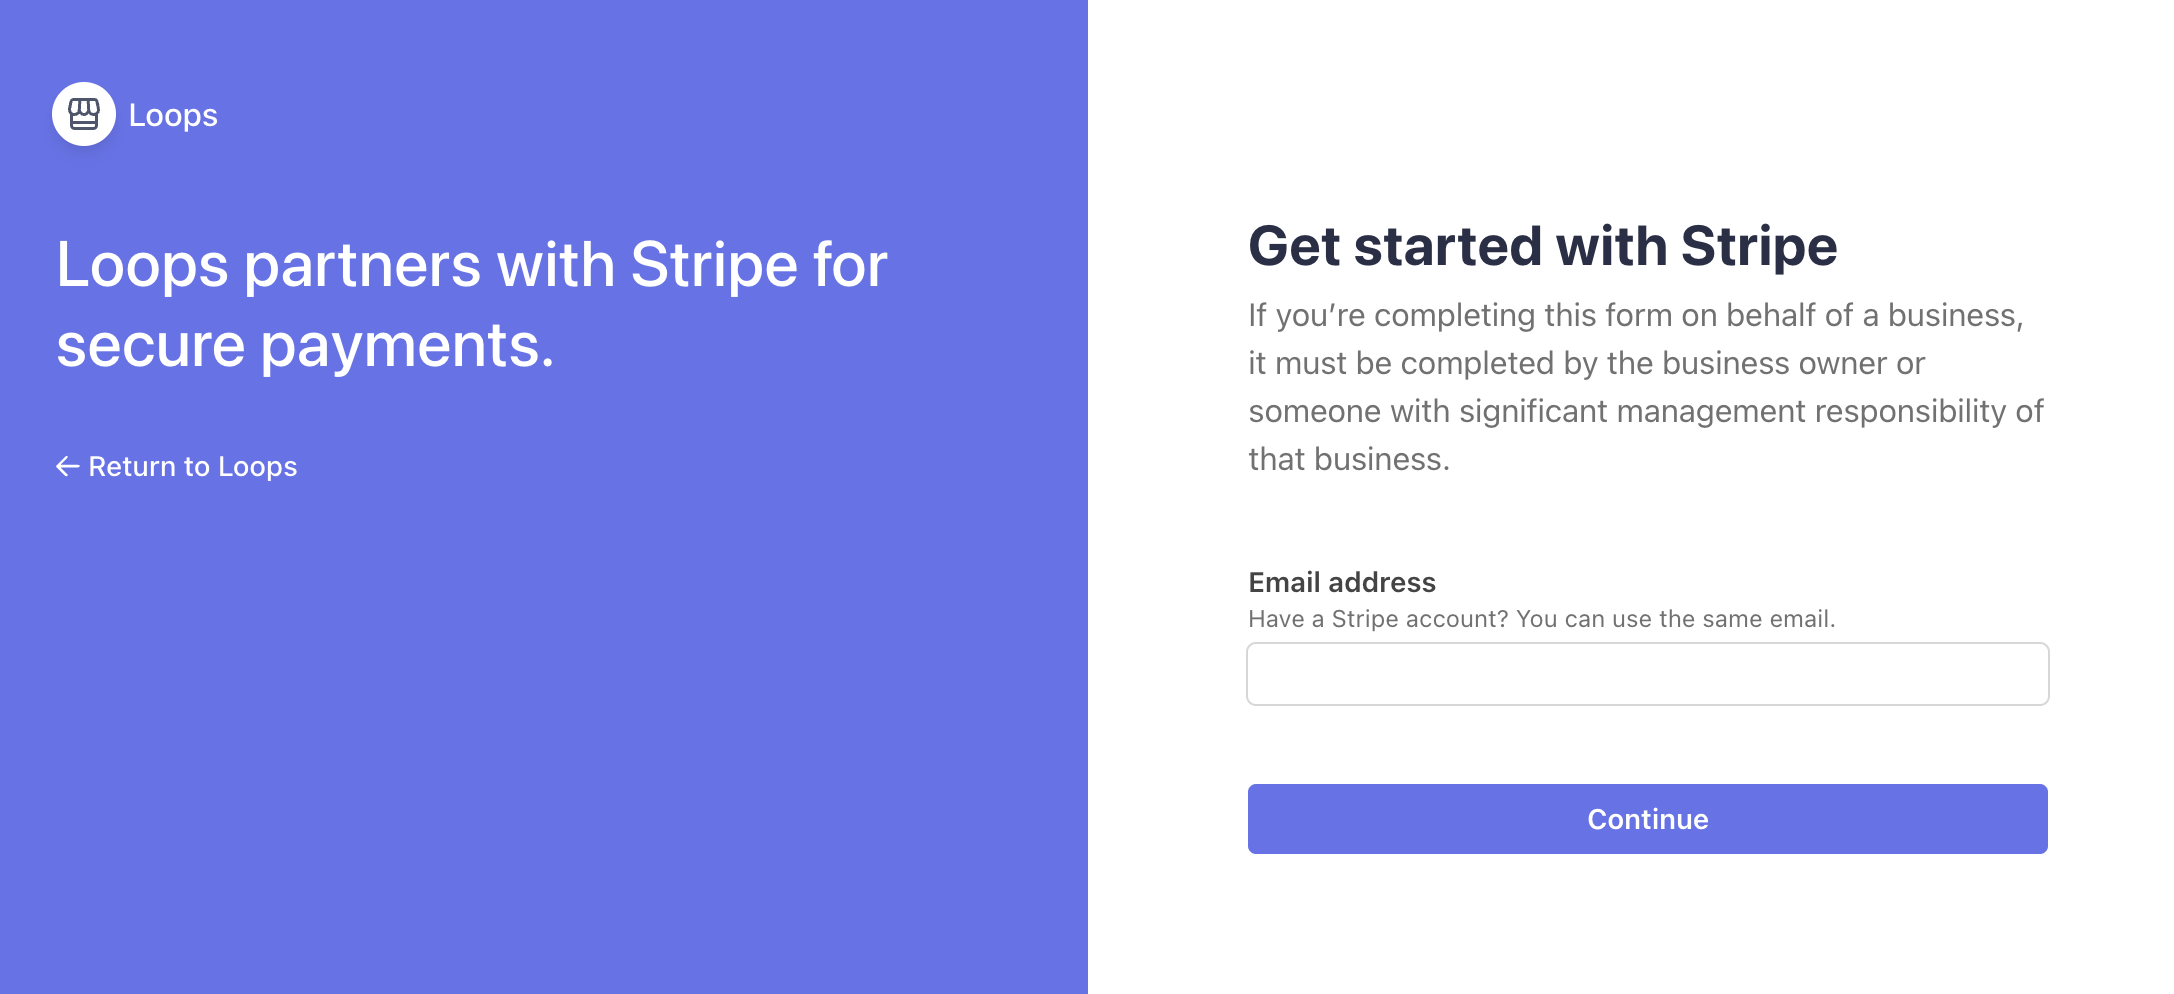
Step 2: Verify Connection
Once connected, you’ll see Stripe’s status change to “Receiving payment events” with your recent revenue displayed. Loops automatically syncs this data to the dashboard, so you can view your revenue attribution in the dashboard.Meta Pixel (Conversions API)
The Meta Pixel integration sends server-side conversion events to Meta’s Conversions API (CAPI). This improves ad attribution accuracy, especially for iOS users affected by App Tracking Transparency.What Gets Tracked
When Stripe events occur, Loops automatically forwards them to Meta CAPI:| Stripe Event | Meta Event |
|---|---|
checkout.session.completed | Purchase |
customer.subscription.created | Subscribe |
invoice.paid | Purchase |
invoice.payment_failed | PaymentFailed |
customer.subscription.deleted | SubscriptionCancelled |
Prerequisites
Before connecting Meta Pixel, you’ll need:- A Meta Pixel ID (15-17 digits)
- A Conversions API access token
Step 1: Get Your Meta Pixel Credentials
- Go to Meta Events Manager
- Select your pixel and go to Settings
- Copy the Pixel ID (15-17 digits)
- Scroll to the Conversions API section
- Click Generate access token and copy it
Step 2: Connect Meta Pixel in Loops
- Go to the Integrations page
- Find Meta Pixel in the Conversions section
- Click Connect and enter:
- A friendly name (e.g., “Website Pixel”)
- Your Pixel ID
- Your Conversions API access token
Step 3: Enhance Attribution with Customer Metadata
For better attribution matching, include Meta tracking data when creating Stripe customers. Loops will automatically forward this data to Meta CAPI. Collect Facebook cookies on your frontend:Cal.com (Booking Conversions)
Track Cal.com meeting bookings as conversion events. This is useful for B2B companies where a booked demo or sales call is a key conversion.What Gets Tracked
- booking_created - When a meeting is booked
- booking_cancelled - When a booking is cancelled
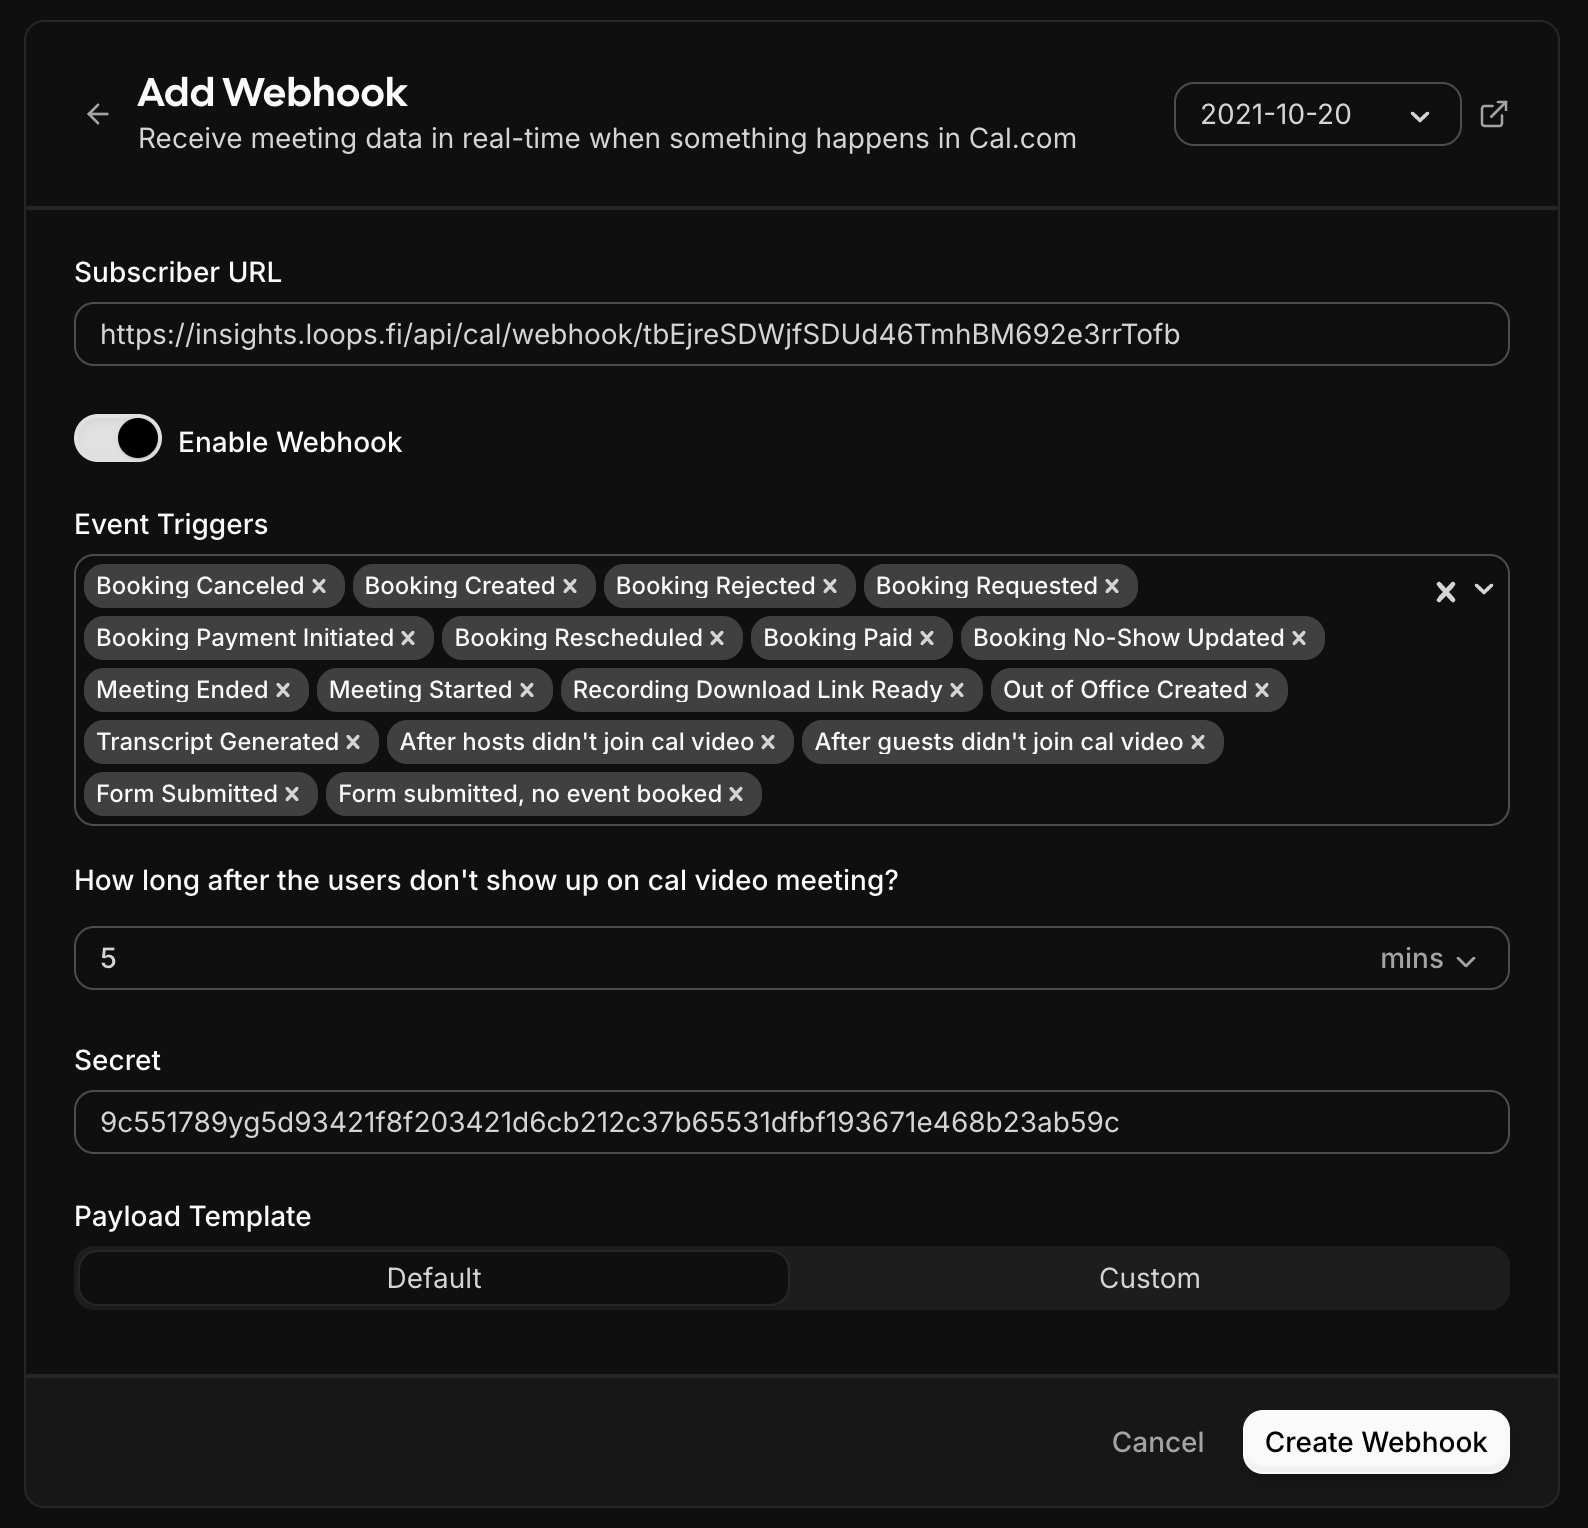
Step 1: Connect Cal.com in Loops
- Go to the Integrations page
- Find Cal.com in the Conversions section
- Click Connect and enter a name for this integration
- Copy the generated webhook secret — you’ll need this next
Step 2: Configure the Webhook in Cal.com
- Go to your Cal.com Settings → Webhooks
- Click New Webhook
- Configure the webhook:
- Subscriber URL: Paste the webhook URL shown in Loops
- Secret: Paste the webhook secret you copied
- Event Triggers: Select
BOOKING_CREATEDandBOOKING_CANCELLED, or just leave all selected
- Save the webhook